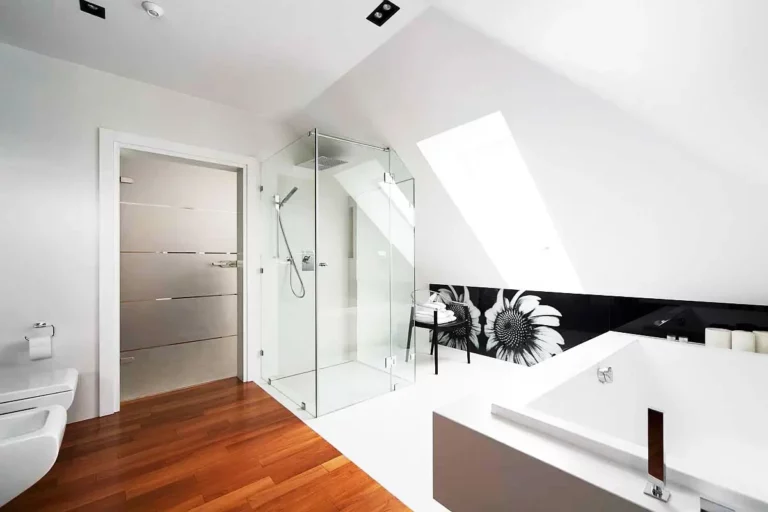
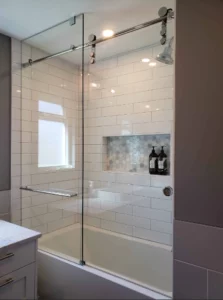
Sloped ceiling shower enclosures, often called sloped cubicles, are panels that enclose your shower area and shield the rest of the washroom from splashes. Your shower enclosure options include windows, doors that move, pivot, or fold open, and walk-in options.
Crown has been a leading manufacturer of shower partitions for more than 18 years. They offer an array of glass shower partitions. These include monogrammed, round, and diamond. Crown products are available in more than 100 countries around the globe which allows you to expand your market rapidly.
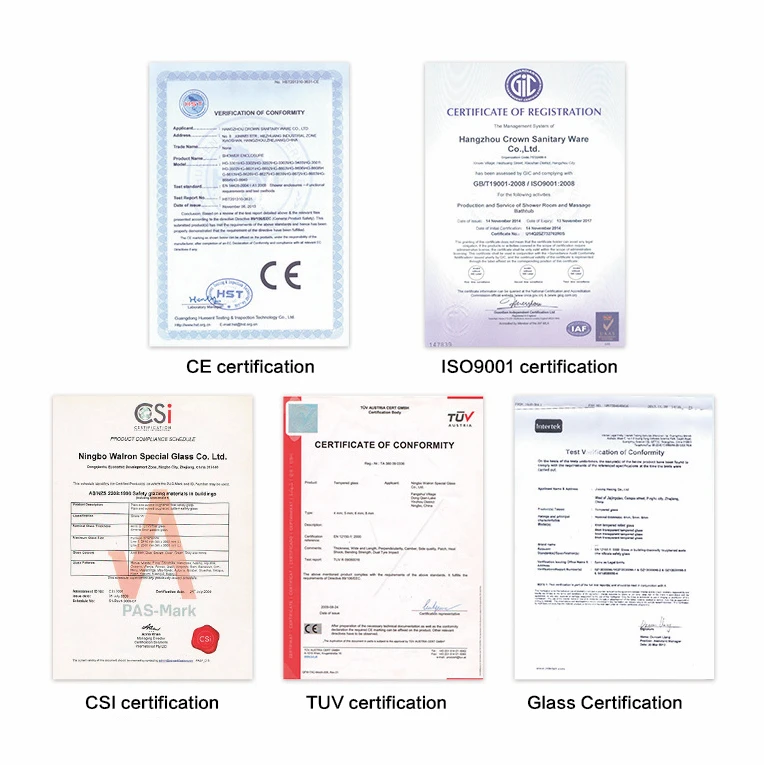
We have a highly-motivated sales team that can provide excellent post and after-sales services. In addition, our team of experienced designers will also be able to provide ODM services that meet your specifications.
Many shower partition walls are available to select from. We hold several patents on concepts and inventions, and our outstanding design capabilities will ensure that you’re always in the game on the market.

You’ll need effective drainage for your shower enclosure, which a shower tray may offer. Sloped ceiling shower enclosures are available in various colors, finishes, and styles, just like bathrooms.
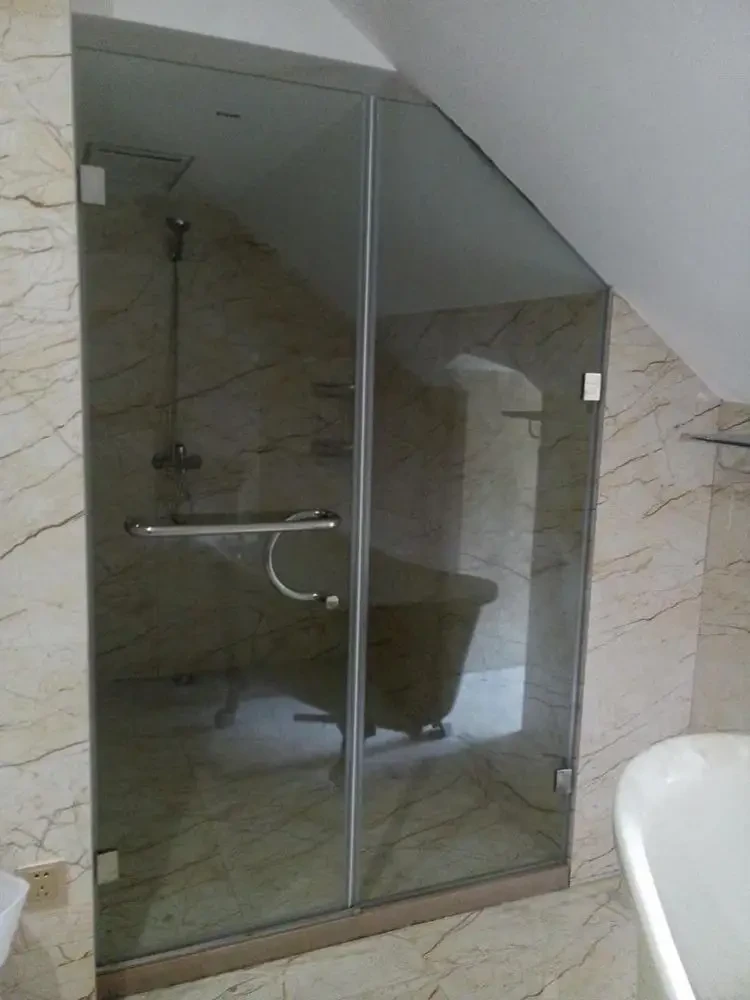
Loft showers and bathrooms are growing more and more popular for a valid reason: they increase any home’s value, convenience, and style. The only issue is that typical shower enclosures don’t fit into oddly shaped small rooms, including attics with low ceilings and sloped roofs.
A growing number of people are using slanted ceiling enclosures to increase the size and value of their homes. You, the consumer, might need a made-to-measure loft shower enclosure since installing a shower in a loft conversion can be challenging, given the angle and height of the ceilings.
Sloping ceilings and a small walk-in space present an obvious issue when designing and arranging en-suite bathroom spaces in a loft conversion. The shower cubicle or wet room must be near or directly underneath the ridge line and directly next to one or more sloped ceilings. This is because the enclosure installer must place the shower head above head height.
You can make a custom-built loft shower cubicle or screen to fit the precise curves and elevation of your ceilings. This allows you to use a 1900mm or 2000mm high screen instead of the more commonly used standard options.
A shower tray ensures that the water exiting from the shower is directed toward the drainage point. The simplest answer is to get an integrated shower enclosure with a built-in shower tray. Leakage risks will be reduced by the tray’s precise fit and custom design.
There are many different types and materials for shower trays, including stone, ceramic, acrylic, and plastic, from which to choose. Make sure you have the precise specifications if you intend to purchase and build your shower tray.
Combining your shower and bath is a simple approach to make room for one if you have limited space. Additionally, installing a bath screen will allow you to have the best of both worlds while preventing splashes in the rest of your bathroom.
Several alternatives are available, namely left- or right-handed models, loop screens, and folded screens with three wrinkles to make the most of your space.
The purpose of a shower enclosure extends beyond aesthetics and original design. Additionally, the owner and their showering experience greatly benefit from this.
The following can be accomplished with a sloping ceiling shower enclosure to add an effortless and ultra-chic accent to your bathroom space:
You must admit that a shower enclosure’s sleek, modern appearance can boost the look of your bathroom. A sloping ceiling shower enclosure can support the following goals for an easy-to-achieve and ultra-chic accent in your bathroom space.
Even though a sloped ceiling could appear to be an oddly shaped area, it frequently makes for the ideal location for a shower enclosure. Using merely a bathroom curtain and a square or rectangle-shaped shower tray, the space-saving design allows you to create an enclosed shower area.
Various door solutions, including pivot, sliding, bifold, and hinged shower doors, are conveniently available for recess spaces.
It can be tempting to change the arrangement of your bathroom if you’re changing or remodeling your shower enclosure. One thing to keep in mind is that you’ll need to put in new piping and drainage if you shift the shower placement. Instead, use the sewage and hot and cold water pipes already in place to make the construction of the new shower much simpler.
The enhanced safety precautions offered due to extensive waterproofing measures are a crucial component and important benefit of building a shower enclosure.
A glass bathroom enclosure can prevent running water from spreading to your tile flooring and creating a slip hazard. For the safety of youngsters and the elderly, shower enclosure bases are waterproof, preventing water runoff and lowering the possibility of slips, accidents, and falls.
Allowing germs and organisms to flourish in a bathroom, which is by nature a moist, humid environment, could have long-term effects on your health. For example, exposure to mold and mildew is frequently accompanied by respiratory problems.
Shower curtains are particularly serious since spores can grow there quickly. Installing a glass shower enclosure will stop these health issues from becoming serious because glass is a non-porous material, meaning bacteria cannot grow on it.
Due to the glass’s smooth surface, even in the case of dirt or grime accumulation, this may be easily cleaned with a cloth and disinfectant.
They require substantially less care than other materials, making glass shower enclosures a superior choice.
Glass enclosures, as opposed to curtains, are a more practical choice because they require less maintenance in terms of cleaning. They are tough and simpler to clean. Additionally, mold or mildew buildup is quite unlikely.
Applying a protective coating to the glass during installation is recommended to lessen water and soap scum stains. They need very little maintenance because they are well-built. It must only be sprayed with a cleaning solution and then dried with a fresh towel.

The shower enclosures must only be sealed with silicone outside. If silicone is used inside, the water that may leak through the profiles might get out. However, water may stagnate inside the profiles if both sides are sealed.
A complete enclosure with a curved shape, one extended side, and one smaller side are known as an offset quad shower enclosure. These can be purchased with single, double, or frameless designs. Additionally, there will be enclosures that also include a shower tray to make everything more convenient.
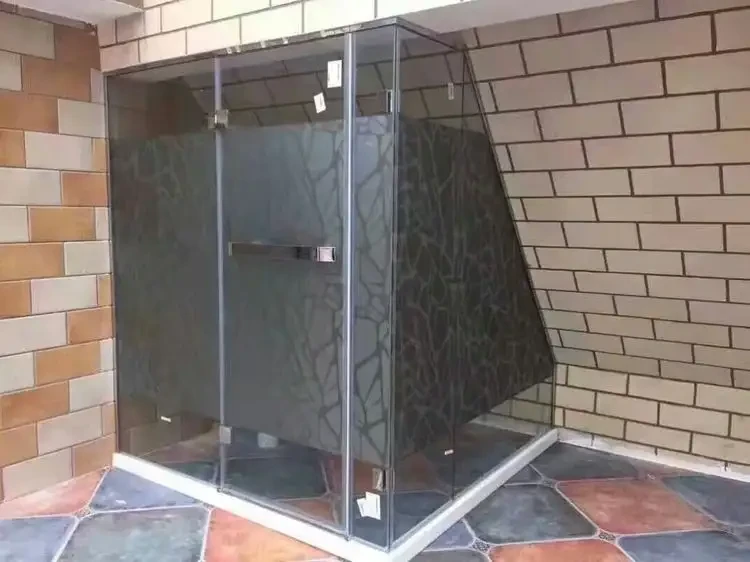
Quadrant shower enclosures with a left-hand offset have one straight side that is longer than the other, unlike real quadrant shower enclosures. They can be purchased with or without a showering tray and are intended to be positioned in a corner with doors and windows that offer a smooth opening motion.
Shower enclosures are made of tempered glass. When a baseball strikes tempered glass, it does not shatter into big fragments like a window. Instead, it will shatter into thousands of tiny bits. Stronger than annealed glass, tempered glass has this advantage.
Even though they are constructed of special glass and have an elegant, stunning design, glass shower doors and enclosures are nevertheless susceptible to breaking. Even though no one has ever suffered a life-threatening injury from one of these glass Shower doors, you will get some scratches and get quite the shock if one breaks.
Although these doors are made to be highly sturdy, if they are not put in properly, they can quickly break. For instance, the entire door may break if a towel bar that was improperly attached comes free and strikes the glass in the wrong place.
Sloped ceiling shower enclosures offer several advantages, including:
Space-saving design: Sloped ceiling shower enclosures are designed to fit into areas with limited headroom, making them an ideal choice for smaller bathrooms or loft conversions. By utilizing the space under a sloped ceiling, you can create a functional and attractive shower area without sacrificing valuable floor space.
Customizability: Sloped ceiling shower enclosures come in a variety of sizes and shapes, allowing you to find the perfect fit for your bathroom. They can be customized to fit into even the most challenging spaces, with options for angled or sloped adjustable ceiling escutcheons to accommodate different ceiling slopes.
Increased functionality and accessibility: With a sloped ceiling shower enclosure, you can create a more functional and accessible shower area. The sloped ceiling design allows for more headroom in the shower, making it easier to stand and move around. It also provides greater access for people with mobility issues, allowing them to shower comfortably and safely.
Overall, sloped ceiling shower enclosures offer a practical and stylish solution for bathrooms with limited headroom. Their space-saving design and customizability make them a popular choice for homeowners looking to maximize their bathroom space while still maintaining functionality and accessibility.
When choosing a Sloped Ceiling Shower Enclosure, there are several factors to consider to ensure that you make the best decision. Below are some of the key factors to keep in mind:
Size and Shape: Sloped Ceiling Shower Enclosures come in a variety of sizes and shapes to fit different bathroom sizes and layouts. Consider the available space in your bathroom and choose a shower enclosure that fits comfortably without taking up too much space.
Door Type and Opening Mechanism: The type of door and opening mechanism you choose will determine the level of accessibility and convenience of your shower enclosure. Popular options include sliding doors, pivot doors, and hinged doors. Keep in mind the available space around the enclosure to determine which type of door and opening mechanism is suitable.
Material and Finish: Sloped Ceiling Shower Enclosures can be made of different materials, including tempered glass, acrylic, and metal. Each material comes in different finishes that can match your bathroom’s decor. Choose a material that is durable, easy to clean, and fits your style.
Compatibility with the Sloped Ceiling Angle: When selecting a Sloped Ceiling Shower Enclosure, ensure that it is compatible with the angle of your sloped ceiling. Some shower enclosures have adjustable ceilings to accommodate various sloped angles.
The maximum slope angle for a Sloped Ceiling Shower Enclosure can vary depending on the specific model and manufacturer. However, most Sloped Ceiling Shower Enclosures are designed to accommodate slope angles ranging from 15 to 25 degrees.
Yes, Sloped Ceiling Shower Enclosures can be customized to fit your bathroom. Many manufacturers offer customization options such as adjustable profiles and panels that can be cut to fit specific slope angles and ceiling heights.
Sloped Ceiling Shower Enclosures do require some additional planning and preparation during the installation process, as they need to be fitted to the specific slope angle of your bathroom ceiling. However, with the right tools and instructions, installation can be done by a skilled DIYer or a professional installer.
Like any other shower enclosure, Sloped Ceiling Shower Enclosures require regular cleaning and maintenance to keep them in good condition. It’s important to use a non-abrasive cleaner and a soft cloth to avoid scratching the glass or the frame, and to inspect the seals and hinges periodically to ensure they are in good working condition.
The main difference between a sloped ceiling shower enclosure and a regular shower enclosure is the design of the frame and panels. Sloped Ceiling Shower Enclosures are specifically designed to fit the angle of a sloping ceiling, while regular shower enclosures have straight frames and panels that are suitable for bathrooms with a standard ceiling height.
Installing a sloped ceiling shower enclosure requires some additional considerations due to the angled ceiling. However, with the right tools and following the proper steps, the installation process can be straightforward.
Here is a step-by-step guide for installing a Sloped Ceiling Shower Enclosure:
Measure the slope angle: Use a level to determine the slope angle of your ceiling. This will help you choose the right type of sloped ceiling shower enclosure.
Assemble the shower enclosure: Follow the manufacturer’s instructions to assemble the shower enclosure. Make sure all parts are included and in good condition before proceeding.
Install the base: Install the shower base according to the manufacturer’s instructions. Ensure that it is level and secure.
Position the enclosure: Position the enclosure against the wall, making sure it is level. Use shims if necessary to ensure a snug fit against the wall.
Attach the enclosure to the wall: Drill pilot holes through the enclosure flange and into the wall studs. Secure the enclosure to the wall using screws.
Install the door: Follow the manufacturer’s instructions to install the door. Ensure that it is level and swings freely.
Seal the enclosure: Apply silicone caulk around the edges of the enclosure to prevent water from leaking out.
Test the shower: Turn on the water and check for leaks. Adjust the showerhead as necessary.
Keeping your Sloped Ceiling Shower Enclosure clean and well-maintained is essential for its longevity and functionality. Here are some tips and best practices for cleaning and maintaining your Sloped Ceiling Shower Enclosure:
Regular cleaning: It’s important to clean your Sloped Ceiling Shower Enclosure on a regular basis to prevent dirt, grime, and soap scum buildup. Use a mild cleaning solution and a soft cloth or sponge to gently clean the enclosure. Avoid using abrasive cleaners or tools that may scratch or damage the enclosure.
Preventing mold and mildew: Mold and mildew can quickly grow in a moist environment like a shower enclosure. To prevent this, make sure to keep the enclosure well-ventilated and dry after each use. You can also use a mold and mildew-resistant cleaner or solution to prevent the growth of these organisms.
Addressing hard water stains: If you live in an area with hard water, you may notice mineral deposits or hard water stains on your Sloped Ceiling Shower Enclosure. To remove these stains, use a solution of vinegar and water, or a commercial hard water stain remover. Avoid using abrasive tools or cleaners that may scratch the enclosure.
Checking for leaks: Regularly check your Sloped Ceiling Shower Enclosure for leaks or cracks that may cause water damage to your bathroom. If you notice any leaks or damage, address them immediately to prevent further issues.
Proper maintenance: In addition to regular cleaning, proper maintenance is essential for the longevity of your Sloped Ceiling Shower Enclosure. Follow the manufacturer’s guidelines for maintenance and care, and make sure to address any issues or repairs promptly.

The African commercial shower market presents unprecedented growth opportunities. Our Shower Enclosure Distributor Network connects
Introduction The African shower enclosure market continues to expand rapidly in 2025. Commercial construction growth
The African commercial shower enclosure market presents remarkable opportunities for manufacturers and distributors. Our comprehensive
