Crafting a flawless shower enclosure combines smart planning, durable materials, and precise execution. In 2025, whether you’re a DIY enthusiast or hiring a pro, this guide breaks down how to make a perfect shower enclosure that’s both functional and stylish. Let’s dive in!
Plan Your Shower Enclosure Design
Measure Your Space
Start by measuring your shower area’s height, width, and depth. Note uneven walls or flooring—precision here prevents costly fixes later.
Choose a Layout
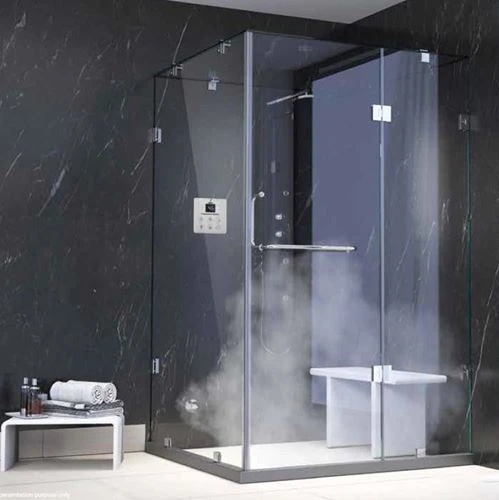
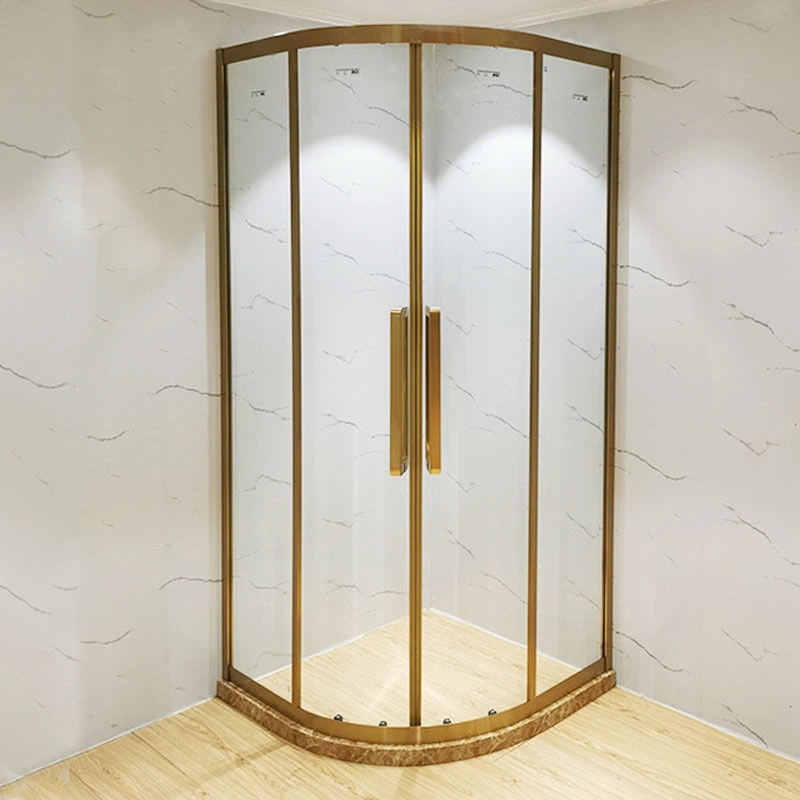
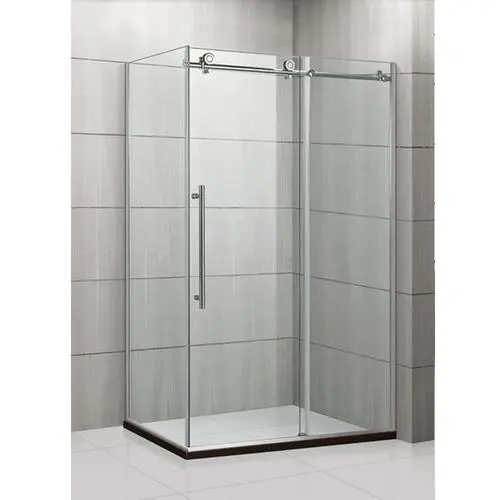
Pick a door style (sliding, pivot, frameless) and layout (alcove, corner, walk-in). Ensure the design complements your bathroom’s flow.
Prioritize Drainage
Slope the floor toward the drain. Linear drains offer sleek, modern efficiency. Confirm plumbing connections are leak-free.
LSI Keywords: shower design, bathroom layout, drain placement, shower door types
Select High-Quality Materials
Walls & Flooring
Opt for water-resistant materials like ceramic tile, acrylic panels, or tempered glass. These balance durability and aesthetics.
Shower Door Options
Frameless glass doors add elegance, while hinged or sliding doors save space. Ensure hardware is rust-proof.
Waterproofing Essentials
Use a waterproof membrane (like Schluter Kerdi) on walls and floors. Seal seams thoroughly to prevent leaks.
LSI Keywords: tile selection, shower pan, waterproof membrane, frameless glass
Master Shower Enclosure Installation
Build a Sturdy Base
Install a pre-made shower pan or create a custom tile base. Ensure it’s level and sealed to the subfloor.
Waterproof Like a Pro
Apply waterproofing to walls and floors. Focus on corners and joints—common leak zones.
Install Walls & Doors
Secure tiles or panels with thin-set mortar. For doors, follow manufacturer guidelines. Check alignment and seal gaps.
LSI Keywords: shower installation, tile adhesive, curbless shower, door alignment
Add Finishing Touches
Seal Gaps
Use mold-resistant silicone caulk on joints. This step is critical for a watertight shower enclosure.
Boost Ventilation
Install an exhaust fan or window to curb moisture buildup. Prevents mold and extends your enclosure’s lifespan.
Lighting Matters
Add waterproof LED strips or recessed lights for safety and ambiance.
LSI Keywords: shower caulking, bathroom ventilation, shower lighting, mold prevention
Pro Tips for Success
Accessibility: Consider a curbless design for easy access. Add grab bars for safety.
Hire Experts: Complex plumbing? Hire a pro to avoid water damage risks.
Maintenance: Clean glass doors with vinegar weekly. Re-caulk annually.
Final Thoughts
Learning how to make a perfect shower enclosure saves time, money, and stress. Focus on precise measurements, robust waterproofing, and sleek materials. Whether you choose a DIY approach or professional help, these steps ensure a spa-like retreat that lasts. Ready to transform your bathroom? Start planning your dream shower enclosure today!